Ultimate Guide to Lip Sync in AI Video (2026)
Last updated: 20 February 2026
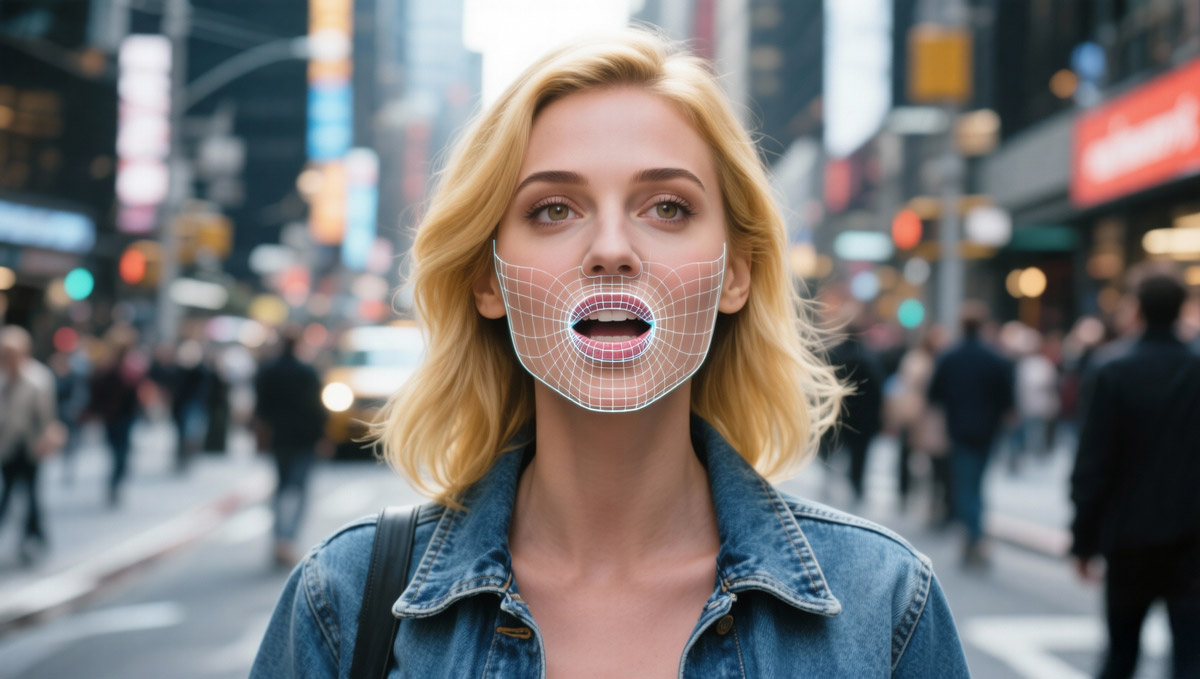
Lip sync in AI video has become one of the hardest parts of the AI production pipeline to get right – and one of the most important. If the mouth movement is off by even a few frames, viewers feel it instantly. The good news is that 2026-era AI tools now offer several reliable ways to get convincing lip sync without needing a full VFX pipeline.
This guide walks through how AI lip sync actually works, which types of tools handle it best, and practical workflows you can use today – from quick talking-head explainers to cinematic ads built with tools like Kling, Luma Dream Machine, Pika, Runway and more.
What “lip sync” actually means in AI video
At a basic level, lip sync is about aligning three things:
- Phonemes – the sounds in speech (“m”, “f”, “oo”, etc.).
- Visemes – how those sounds look on the mouth (lips, jaw and sometimes tongue/teeth positions).
- Timing – which viseme appears on which frame of the video.
In traditional animation or VFX, you often have a clear timeline: audio on one track, keyframed mouth shapes on another. In AI video, especially text-to-video, the model is generating everything at once. That’s why you sometimes see:
- Mouths moving on the beat of the music rather than on speech.
- “Flappy mouth” motion that doesn’t match syllables.
- Perfectly synced audio and video for a second or two, then drift.
Modern tools improve this in different ways: some drive the lips directly from audio, some generate video conditioned on phoneme timing, and some rely on a post-process lip-sync pass over existing footage.
Four main lip sync workflows in AI video
1. Talking-head and avatar tools
Tools like HeyGen, Synthesia and similar avatar platforms are built around lip sync:
- HeyGen offers dedicated AI lip sync workflows that turn text or audio into realistic talking avatar videos, or sync your own footage to a new script. You upload footage or pick an avatar, add your script, and the platform drives mouth movements directly from the audio.
- Synthesia provides 200+ studio-style AI avatars with technology focused on natural lip sync, facial expressions and multilingual delivery.
When to use: training videos, explainers, onboarding content, “AI presenter” YouTube videos, sales walk-throughs, and quick multi-language variants where reliability matters more than cinematic realism.
State-of-the-art AI video. New users get 50% bonus credits on their first month (up to 5 000 credits).
2. Overdubbing existing footage
Dubbing workflows keep the original video but change the language or voice. The typical pipeline:
- Generate or translate audio with an AI voice tool.
- Align the new audio with the speaker’s mouth using a lip-sync system.
AI voice platforms such as ElevenLabs are widely used for high-quality voice cloning, translation and dubbing. Lip sync itself is often handled by:
- Dedicated lip-sync tools built into localisation platforms.
- Face-driven systems like Wav2Lip, SadTalker or similar local models.
- Integrated “translate + sync” solutions that combine both steps.
When to use: translating YouTube videos, localising courses, repurposing podcasts for video, or keeping an actor’s original performance while changing language or tone.
3. Text-to-video with external voice-over + sync
Cinematic models like Kling, Luma Dream Machine, Runway and Pika prioritise motion quality, realism and temporal consistency. Lip sync is typically handled in one of three ways:
- Generate visuals first, then add voice-over and apply a lip-sync pass.
- Use image-to-video with a close-up hero frame and drive it from audio.
- Split dialogue into short shots and manually align in the edit.
These tools continue to improve facial stability and temporal coherence, which indirectly improves mouth consistency — but you still get better results by structuring dialogue into controlled, short clips.
When to use: cinematic sequences, ads, stylised narrative films, or social videos where you want higher visual fidelity than avatar platforms provide.
4. DIY / local pipelines
For maximum control (and effort), you can assemble your own lip sync workflow using local tools or node-based systems like ComfyUI:
- Generate stills or base animations (local image/video models).
- Generate speech with AI voice tools (cloud or local).
- Apply lip-sync models such as Wav2Lip or SadTalker to drive mouth motion from audio.
- Refine timing and cuts in an editor (DaVinci Resolve, Premiere Pro, etc.).
When to use: experimental styles, offline workflows, privacy-sensitive projects, or when you want full control over frames and timing.
Settings and choices that make or break lip sync
1. Shot choice and framing
- Use mid-shots or close-ups when lip sync matters. If the face is tiny in frame, small errors become noticeable but impossible to fix.
- Avoid rapid cuts during dialogue. Give the model a stable few seconds per shot.
- Limit extreme head turns, fast spins or heavy motion blur when precision is important.
2. Audio quality
If your workflow uses audio-driven lip sync, the audio matters as much as the video:
- Use a clean mono track without background music during the sync stage.
- Avoid heavy reverb or compression before lip-sync processing.
- Maintain natural pacing. Extremely fast delivery increases phoneme detection errors.
A simple workflow: sync to clean dialogue first, then reintroduce music and sound design in your editor.
3. FPS, duration and segmentation
- Most lip sync systems perform best at 24–30fps. Test carefully if you work at unusual frame rates.
- Shorter clips (10–20 seconds) stay stable more reliably than long monologues.
- For longer scripts, generate multiple short dialogue shots and cut between them.
Breaking dialogue into beats reduces cumulative drift.
4. Prompting for text-to-video models
For models like Kling, Luma, Runway and Pika, prompting still matters:
- Explicitly mention “talking directly to camera”, “clear mouth articulation” and “natural lip movement”.
- Keep body action simple during speech.
- Split long paragraphs into short lines or separate clips.
Don’t ask the model to perform complex stunts and deliver dense dialogue at the same time.
Recommended tools by use case
Use case 1: Fast, corporate-friendly talking heads
Best fits: internal training, onboarding, HR announcements, course intros.
- HeyGen – streamlined script-to-avatar workflow with built-in lip sync and multilingual support.
- Synthesia – polished, studio-style avatars with strong cross-language performance.
- Other avatar platforms – good when consistency and speed matter more than custom cinematography.
Use case 2: Cinematic ads and trailers with lip-synced close-ups
Best fits: short films, high-end ads, proof-of-concept AI films.
- Kling – generate cinematic close-ups, then pair with external voice-over and a focused lip-sync pass.
- Luma Dream Machine – strong camera motion and visual continuity; combine with carefully segmented dialogue.
- Runway or Pika – suitable for tightly controlled short dialogue shots.
Use case 3: Shorts, memes and social clips
Best fits: TikTok, Reels, YouTube Shorts, fast-turnaround content.
- Avatar tools for rapid script-based production.
- Short image-to-video close-ups with external lip-sync passes.
- Deliberately stylised content where “perfect realism” isn’t required.
In short-form content, tight editing often hides minor imperfections.
Common lip sync problems (and fixes)
1. Mouth slightly behind the audio
- Shift audio 1–3 frames earlier in your editor.
- Re-export at a standard frame rate (24 or 30fps).
- Ensure your editing timeline matches the generated video’s FPS.
2. “Rubber mouth” distortion
- Reduce motion strength in the base video generation.
- Use a cleaner, front-facing hero frame.
- Increase face resolution before applying lip sync.
3. Drift over long monologues
- Break dialogue into shorter segments.
- Apply lip sync per segment instead of once over a long clip.
- Cut away to B-roll periodically to reset visual attention.
4. Unnatural expressions during speech
- Prompt for “neutral expression while speaking”.
- Lower exaggeration or stylisation settings.
- Use a stable, mid-shot framing rather than extreme close-ups.
Best-practice workflow (2026 baseline)
For most creators, this balanced workflow works well:
- Write and refine the script first.
- Generate clean voice-over (or record real voice).
- Create short dialogue shots (5–15 seconds each).
- Apply lip sync per shot using your chosen platform.
- Edit, trim and nudge audio timing by a few frames if needed.
- Add music and sound design last.
Treat lip sync as a controlled stage in the pipeline, not something you “hope” the model gets right automatically.
Quick checklist before publishing
- ✅ Dialogue split into manageable shots.
- ✅ Clean audio used for the sync stage.
- ✅ Standard frame rate (24–30fps).
- ✅ No extreme head turns during dense speech.
- ✅ Audio nudged by a few frames if necessary.
- ✅ Final export checked at 100% zoom for mouth drift.
Perfect lip sync is still one of the most technical parts of AI video. But with short clips, clean audio, and the right tool for the job, you can get results that look intentional and professional rather than accidentally out of sync.